
I started by washing and slicing the rhubarb.
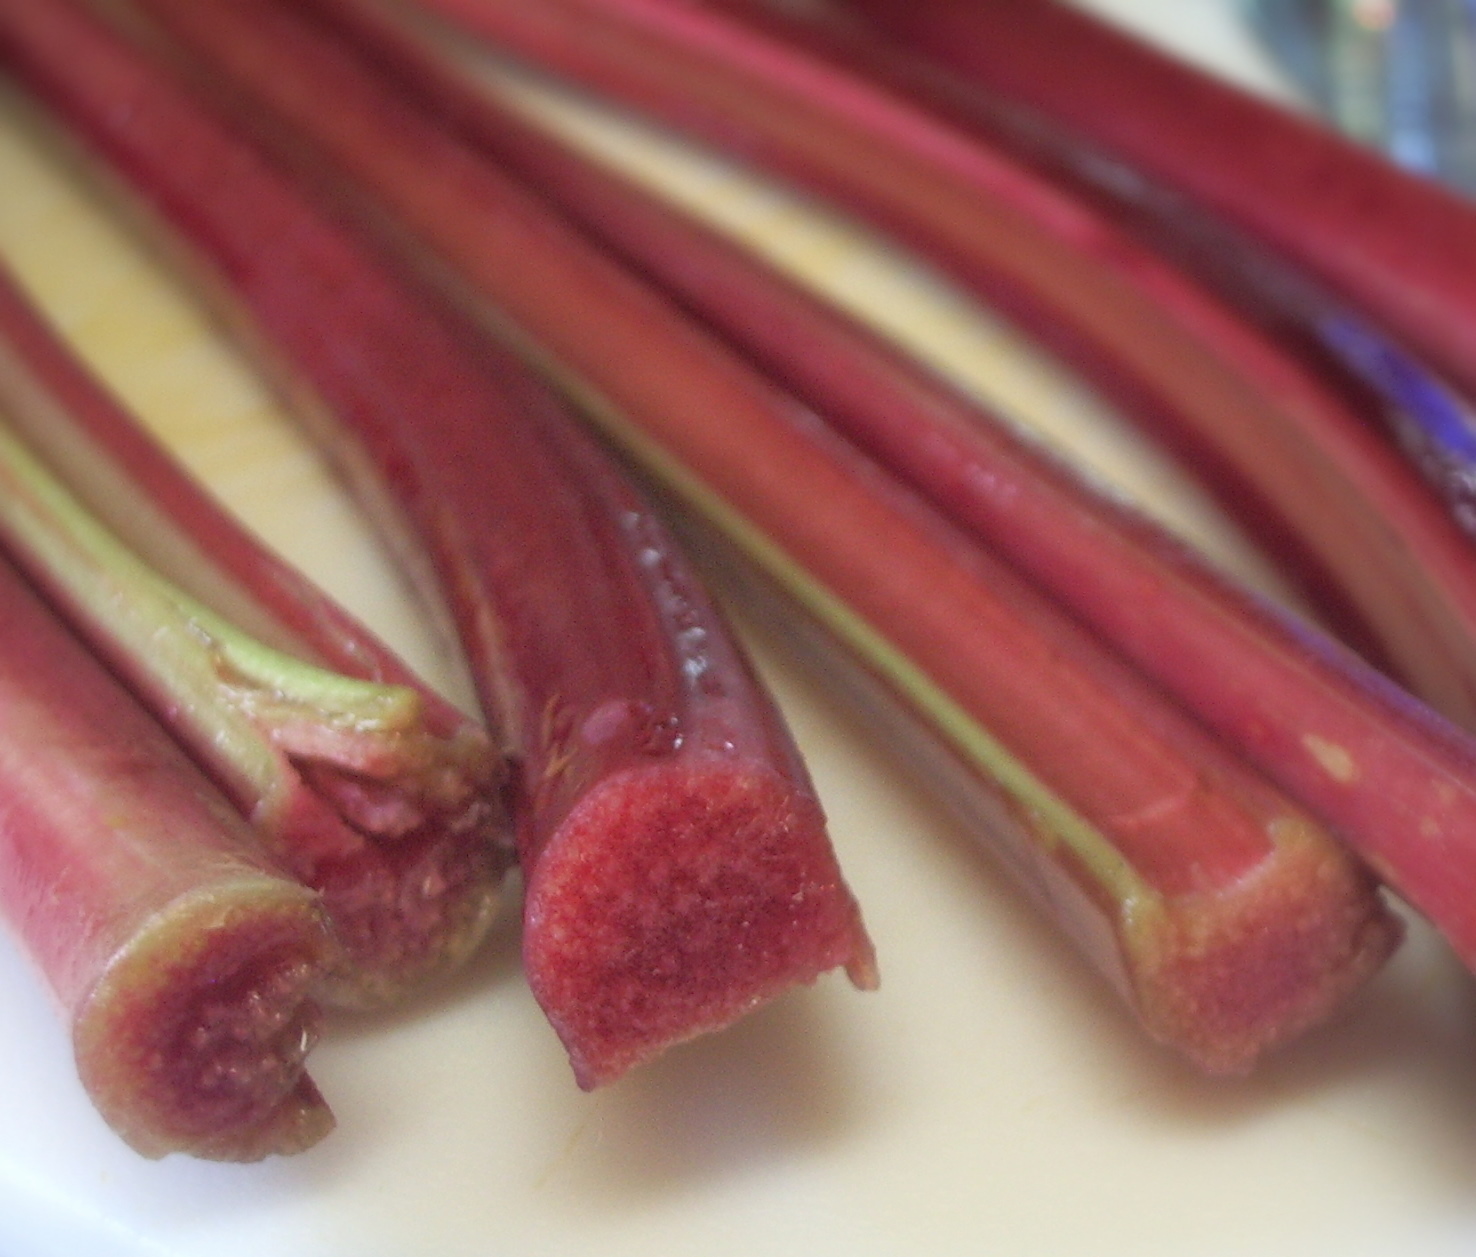
Some recipes say if your rhubarb is older you may need to peel it, but mine did not need to be peeled (at least not that I could tell!). It was tender and a beautiful reddish-green color. I sliced the stalks into 1/2 in. pieces until I had 3 cups worth. I still have a lot leftover, so I'm going to freeze it and see what else I can come up with to do with it! The strawberries I used were fresh ones I had frozen a month or so ago. I thawed them out and sliced them up too.

Then I mixed flour and sugar together

(deciding to do a bit less sugar than the recipe called for), pouring it on the fruit and stirring to coat. It was a sticky, pasty kind of mess.
One blogger I stumbled upon (Beantown Baker) said that she learned to put the fruit in a colander for an hour after mixing with sugar to drain the excess juice!

I decided to try her method, because the one complaint I kept reading about was a runny filling. So while the fruit was dripping into the sink, I got to work on the crust.
My mom's old recipe is really a very simple shortening recipe, but it has a couple of tricks. For an extra tender, flaky crust, she says to cut in only half the shortening at first, cutting with a pastry blender until it looks like cornmeal.

Then, cut in the other half until it resembles small peas.

This takes quite a long time, so if you're not picky about your crust, just put it all in at once. However, I think the effort is worth it! I remember many times Mommy and I would take turns at the pastry blending because our arms got so tired! Once you've achieved the small-pea standard, you're ready to mix in the cold water. Mommy's first step in pie crust making was always to put a glass cup of water in the freezer with tablespoon in it. That way the water was ice cold by the time she got to that step. Mixing the water in tablespoon by tablespoon, using a fork, get all of the dough a little bit moist. Then, use your hands to shape the dough into a ball (or two balls, like I did, for a two crust pie!). Mommy said her mom always told her using your hands gave the dough extra flavor- but not too much handling or it would be tough! :)
Once I had my two balls of dough, I rolled one out (with my poor, broken 1-handled rolling pin) too be just a bit bigger than my pie plate.

*gasp* Where is my pie plate??!! At this point I panicked. Here I was, with a great looking crust, and my pie plate was nowhere to be found! I still don't know where it is, but I gave up and had Travis get me the church's pie plate (thank goodness there was one) to save the day. Okay...back to the pie. Once I had fitted the bottom crust in the pie plate (my favorite way to get the dough in the pan is to roll it around the rolling pin),

I spooned the fruity, gooey mixture in and topped it with a few little chunks of butter.

Then I rolled out the second ball and fitted it to the top of my pie.

Next, I crimped the edges, using my two thumbs and forefingers, pinching all the way around until the top and bottom were sealed together.


Then I made a few little slits in the top to let the steam out and brushed some milk on top to make the crust shiny.

A little bit of sugar sprinkled on top to add some sparkle, foil around the edges to protect them from burning, and my pie was ready for the oven!

It came out looking beautiful (if I do say so myself), shiny and golden brown on top, with just a hint of that yummy red juice bubbling out one of the edges.


I was so excited, but of course I couldn't slice into it until the next day at church! I hoped I had put in enough sugar and that the filling would hold together!
The next day, after the morning service, all the pretty pie slices were lined up for the men to choose from! Of course, my husband chose a slice of mine and topped it generously with whipped cream (NOT Cool-Whip! Sorry, I have this thing against fake whipped cream...).

He loved it! And I was pleased to see the filling held together beautifully and the taste was a perfect blend of tart and sweet, just what you're looking for in a strawberry-rhubarb combination! There was only one piece left for us to take home from church, and that one disappeared soon afterwards...
Strawberry-Rhubarb Pie
(printable version)
(printable version)
adapted from Betty Crocker Cookbook
pastry for 2-crust pie
1 1/2 cups sugar
2/3 cup flour
3 cups 1/2 pieces of rhubarb
3 cups sliced strawberries
1 TB butter
milk and sugar for top
Heat oven to 425. Mix sugar and flour together, mix with fruit. Drain in colander in sink for an hour or so to get rid of excess juices. While fruit is draining, make pastry. Spoon fruit into pastry-lined pie plate. Cut butter into small chunks and sprinkle over fruit. Cover with top pastry and makes slits for steam. Seal and crimp or flute edges. Brush top with milk and sprinkle with sugar if desired. Cover edges with foil. Bake about 45 min. Remove foil and bake another 15 min. Cool on wire rack at least 2 hrs.
Mom's Pastry
(makes 1 crust- double for 2-crust pie)
1 1/2 cups flour
1/2 tsp salt
1/2 cup shortening
4-5 TB cold water
Mix dry ingredients. Cut in half the shortening with a pastry blender until mixture resembles cornmeal. Add the other half and cut in until it resembles small peas. Sprinkle one TB of water over part of mixture. Gently toss with fork, push to side of bowl. Repeat until all is moistened. Form into ball, roll out on lightly floured surface till 1/8 in. thick or until about 2 in. beyond edge of pie plate. Fit into pie plate, flute edges (or fill with fruit, top with second crust, then flute). If baking prior to filling, prick bottom of crust several times with a fork. Bake at 450 for 10-12 minutes. If crust and filling are baked together (as above), do not prick.
